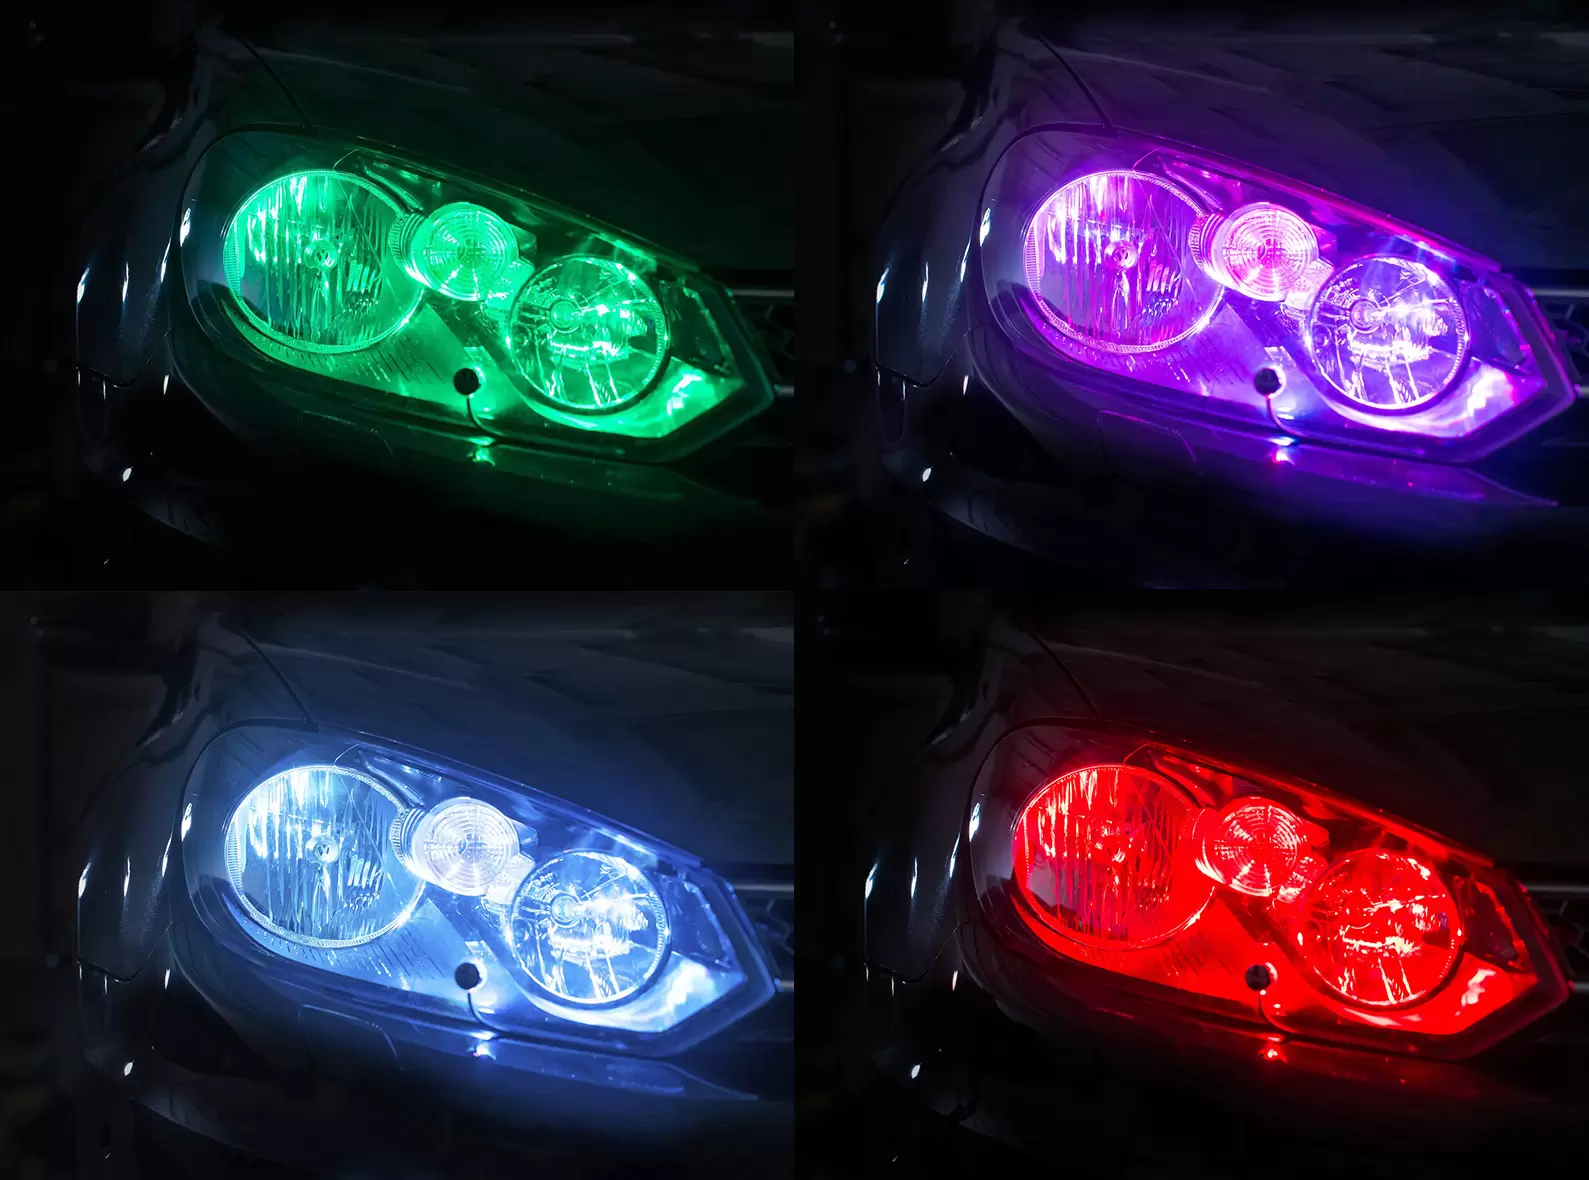
How to install the kit
Included in the kit:
- Smart control unit
- 2 LED lights
- 2 metres of LED light wire
- 1 metre of power wire
- 4 cable ties
- 2 pieces of adhesive tape
- Alcohol pad
- User instructions
We advise that you familiarise yourself with the instructions and contents of your kit before you start. You can also download the LEDambient CONNECT app first.
-
Open the bonnet. Find your car battery and then choose a suitable location for the
 PULSE CONNECT control unit to sit. It's recommended that it stays within close proximity to the battery, as they both need to connect each other. Also, it's worth noting that this point that you'll need to leave extra space for the connecting wires.
 - Secure the control box in its location using the cable ties.
- Connect the power cables to the battery. When the device initially activates, it will play through one full colour cycle.
- Open your LEDambient CONNECT app. This will allow you to program and control the colour/rhythm of the lights.
If you want to attach the kit to the exterior:
- Whilst the kit is illuminated, find a suitable location on the front of your headlight to attach the PULSE. Make sure you pick a spot that reflects the colour best. Now, turn the kit off, and clean the surface with the alcohol wipe. You can now secure the PULSE using the adhesive tape provided. Do this by applying pressure for around 20 seconds.
-
Once this has been secured, tuck all wires away and then repeat for the other headlight.

- Check the lights again using the app.
If you want to attach the kit to the interior:
- Feed the PULSE and the cable through to the interior and find a suitable spot to position the light.
- Clean the area with the alcohol wipe and secure the PULSE using the adhesive tape provided. Do this by applying pressure for approximately 20 seconds.
- Check the lights again using your app.
And that's it! In just a few simple steps you can give your vehicle an extremely stylish look on the road.


 Close
Close